Listen to the Podcast
8 November 2024 - Podcast #907 - (15:32)
It's Like NPR on the Web
If you find the information TechByter Worldwide provides useful or interesting, please consider a contribution.

If you find the information TechByter Worldwide provides useful or interesting, please consider a contribution.
Photographers can be an opinionated group. “No serious photographer will ever use film smaller than 4×5 inches for portraits!” “No legitimate wedding photographer will ever use a 35mm camera!” “You’re not a real photographer if you use an autofocus camera!” “Digital cameras will never replace film!” And so on. These days it’s “Any serious photographer will use only manual mode!” or “You can’t get a decent image out of a phone!” or even “Nobody who knows anything about photography will ever shoot JPEG format!”
Nonsense! So much nonsense.
“Never say ‘never’” is an oxymoron, but it’s worth keeping in mind when you pull out the camera. And what camera will you pull out? Until 2022, when I suffered a spinal injury that left me with impaired balance, I generally carried a big, heavy digital SLR. But even then I often took a much smaller camera unless I needed specific features that the larger camera offered. And occasionally I even used the camera in my phone!
These days, I use the camera in my phone most of the time, the small Sony camera when I need more control over the various settings, and the big, heavy Canon almost never. So there are two topics here: Picking the right camera and choosing the right file format.
Most digital cameras and even smart phones can capture and store raw images. These are files with extensions such as CRW, CR2, and CR3 for Canon cameras; ARW for many Sony cameras; NEF for Nikon cameras; and DNG for several other camera manufacturers. With the exception of DNG, each of the raw formats is proprietary, meaning that no photo editing application other than one provided by the camera manufacturer can edit the files directly. DNG is an open-source format. And a few cameras can save files in TIFF format.
Raw files are always far larger than JPEG files because they include all of the information captured by the camera’s sensor. Although there are other formats for digital images, I’m primarily considering proprietary raw formats, DNG, and JPEG. Formats such as TIFF, PNG, GIF, BMP, and JPEG are primarily choices for outputting finished work. So JPEG can be used for the original image or to output the final cropped and edited image from a raw file.
The primary difference between a JPEG image and a raw image, aside from the size of the file, is that the raw file is an unprocessed record of all the data from the camera’s sensor. Your photo editing application converts the data to a viewable image. The JPEG file will be smaller because it will have been converted from the raw image in the camera and saved in a finished, ready-to-share format. Both raw and JPEG files will have the same dimensions, but a raw file that might consume 20MB of space or more will be 5MB or less as a JPEG.
Those who want to have the greatest amount of control will be more likely to use raw files, but they will need to spend some time and effort on every image. JPEG images reflect the camera’s best guess at exposure, contrast, color balance, and more. Once the camera has baked these adjustments into the file, it discards a lot of data. That’s the factor that limits what can be modified later.
Applications such as Adobe Lightroom, Photoshop, Exposure, and others interpret raw files so that they can be modified, but they cannot write changes back to the raw files unless you’ve converted the camera manufacturer’s raw file to the open source DNG file format created by Adobe. DNG stands for “digital negative”. If you retain the camera’s raw file, the application you use to edit it will store information about the modifications in a catalog file or in a separate sidecar file that’s stored alongside the digital file.
Some camera manufacturers use Adobe’s DNG format, but the larger manufacturers (Nikon, Canon, and Sony) have not. Many cameras can create both raw and JPEG images simultaneously. I used this option to capture some images with my phone.
Here are 15 images. JPEG images from the phone are in the left column, raw images from the phone are in the middle column, and raw images from a digital camera are in the right column.
Click any small image for a full-size view. To dismiss the larger image, press ESC or tap outside the image.
| Phone JPEG | Phone Raw | Camera Raw |
|---|---|---|
1 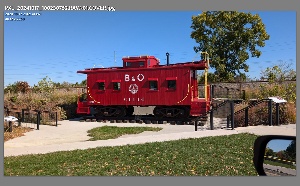 |
2 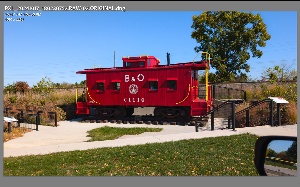 |
3 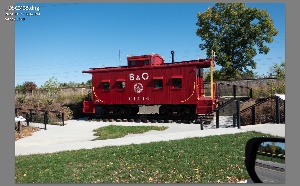 |
4 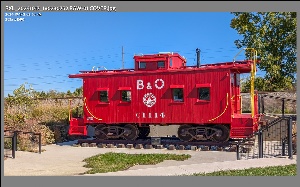 |
5 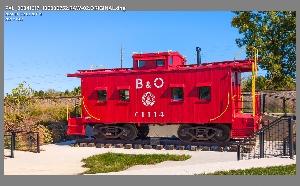 |
6 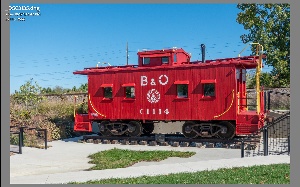 |
7 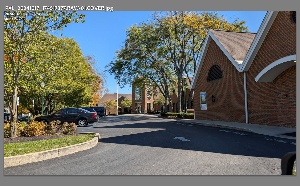 |
8 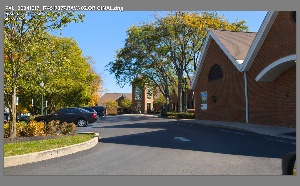 |
9 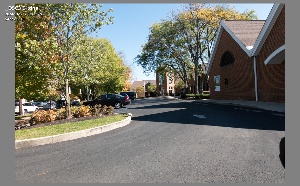 |
10 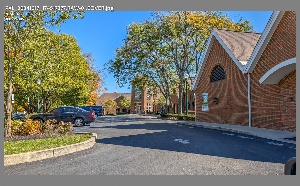 |
11 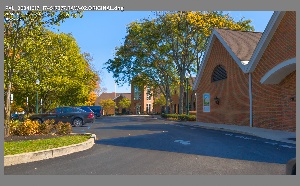 |
12 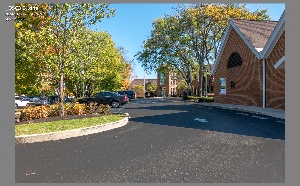 |
13 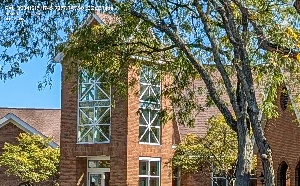 |
14 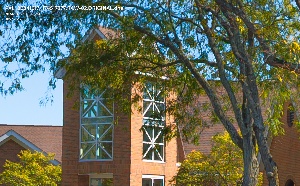 |
15 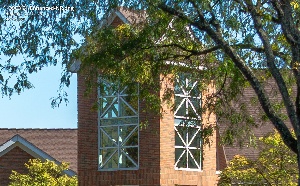 |
Given additional time, I could further improve each of the images, but the resulting “final images” are well within the “good enough” range. Clearly, if you’re looking for the best possible quality, use a camera with the largest sensor and lenses you can afford, shoot only in raw mode, place the camera on a tripod, and shoot a series of at least three bracketed exposures. Otherwise, just pull out your phone and press the button. Most people won’t even notice the difference.
With photography, it’s (almost) always about matching the camera and the shooting style to the needs of the task at hand.
The illustrations used in the article are screen captures from Adobe Lightroom Classic 2025. I have linked full-size JPEG versions of the the finished images here so that you can see and compare the differences:
There are two browser extensions that have the objective of making Facebook tolerable. I have recommended and used Social Fixer for many years, but recently switched to Fluff Busting Purity (FBP). The developers of both apps are battling hundreds (if not thousands) of Meta Developers, but the Social Fixer Team seems to have been defeated.
Click any small image for a full-size view. To dismiss the larger image, press ESC or tap outside the image.
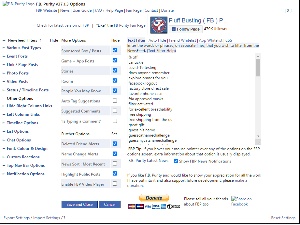 Fluff Busting Purity, or FB Purity for short (previously known as Facebook Purity) is a web browser extension designed to customize the Facebook website’s user interface and add extra functionality. Developed by Steve Fernandez, a UK-based programmer, it was first released in 2009 as a Greasemonkey script, as donationware. It is available for Firefox, Google Chrome, Microsoft Edge, Safari, Opera, Brave, and Maxthon.
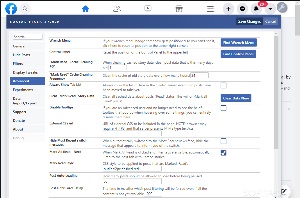 Social Fixer was developed by Matt Kruse. The project was originally called “Better Facebook” as a tool for him to remove the annoyances of Facebook. Kruse and several other developers (most notably Bela Lubkin, Patricia O’Reilly, and Ed Siff) have maintained the app, but seem to have been defeated by Facebook developers who have made it difficult or impossible for Social Fixer to remove advertisements and other dreck.
One problem with both Social Fixer and FB Purity is that they work only with the web browser version of Facebook, not the app provided to Android or IOS users. Neither developer has created an app for users of mobile devices, probably because of Meta’s litigious legal department. Still, if you use Facebook with a web browser, there is hope. There is the ability to eliminate the torrent of advertisements, spam, and scams.
Meta continuously modifies the techniques it uses to identify ads. Until recently, both Social Fixer and FB Purity were able to deal with the modifications, but Social Fixer lost the ability in mid-2024 and seems to have been unable to recover. FB Purity continues to be able to strip the unwanted content.
Although Social Fixer offers more improvements and visual tweaks than FB Purity does, currently it fails at its primary task — that of eliminating the never-ending stream of advertisements and “suggested” posts. Suggested is a synonym here for sponsored. Download the apps from your browser’s store or from the Google Play Store for any Chrome-based browser.
Getting to the BIOS screen used to be easy. The Windows boot process was relatively slow and pressing the correct key at the right time wasn’t difficult. But boot processes are faster and you may have to restart the computer several time as you flail to press Esc, F2, F8, or whatever key the manufacturer has chosen.
Enough of that.
Wouldn’t it be nice if you could just click an icon on the desktop and be taken directly to the BIOS screen? You can, but you have to create the icon. Here’s how:
Click any small image for a full-size view. To dismiss the larger image, press ESC or tap outside the image.
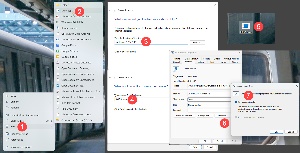 Right-click anywhere on the desktop, then click (1) New and (2) Shortcut. In the “location of item” box type (3) shutdown /r /fw /t XX where XX is a number indicating how long you want to wait before rebooting the computer. I use 2 for 2 seconds. The /r switch specifies a full shutdown followed by a restart, /fw specifies that you want to boot to the BIOS screen, and /t is used to specify the delay time.
Click Next and (4) specify a name for the icon on the next screen. I used “BIOS Screen”. When you click the Finish button, your (5) new icon will be placed on the Desktop. Right-click the icon and choose the (6) Advanced option, click the (7) Run as administrator box and then click OK.
When you want to reboot the computer to the BIOS screen, double-click the icon, accept the User Account Control warning, and your computer will restart after waiting for the period you specified in the timeout setting.
TechByter Worldwide is no longer in production, but TechByter Notes is a series of brief, occasional, unscheduled, technology notes published via Substack. All TechByter Worldwide subscribers have been transferred to TechByter Notes. If you’re new here and you’d like to view the new service or subscribe to it, you can do that here: TechByter Notes.